 |
Image 6.1 Me and Fuensi
working together and having
fun.
|
What we pretend to get from this expirience (an extraction) is the substance contained in each cell like fear of the murder, hence we can use it with a wide variety of objectives, as analyzing simply the DNA of the studied individual or instead looking up if the transgenic gene has been inserted to the host, or ... But there is needed an essential machine called PCR, that can multiply the DNA chain, by making copies of a region of the original DNA (a unique chain) stablished by the scientist, who add primers, a molecule that can read the information and starts duplicating the strand by one concrete point, and finishes into another one fixed too. My experimentation had the objective to identify if the transgenic gene had been inserted to the Cucumis melo DNA.
 |
| Image 6.2 Liquid nitrogen. |
First of all, of course, you need different possible individual you suspect has acquired this transgenic gene. Then, you maintain this alive substain in cold conditions, since you are prepared to use the liquid nitrogen in order to crush the leaf into little pieces. After having it all crushed in the eppendorfs, you start preparing the Doyle buffer solution.
 |
| Image 6.3 Vortexing the solutions in the eppendorfs. |
After having prepared it a part in a fume chamber, you added into the eppendorfs, thus you mantain the pH stable, keeping the leaf in good conditions. When this proces is finished, you proceed to gentle vortex the solutions and then putting them in a metal microtiter plate warming up.
 |
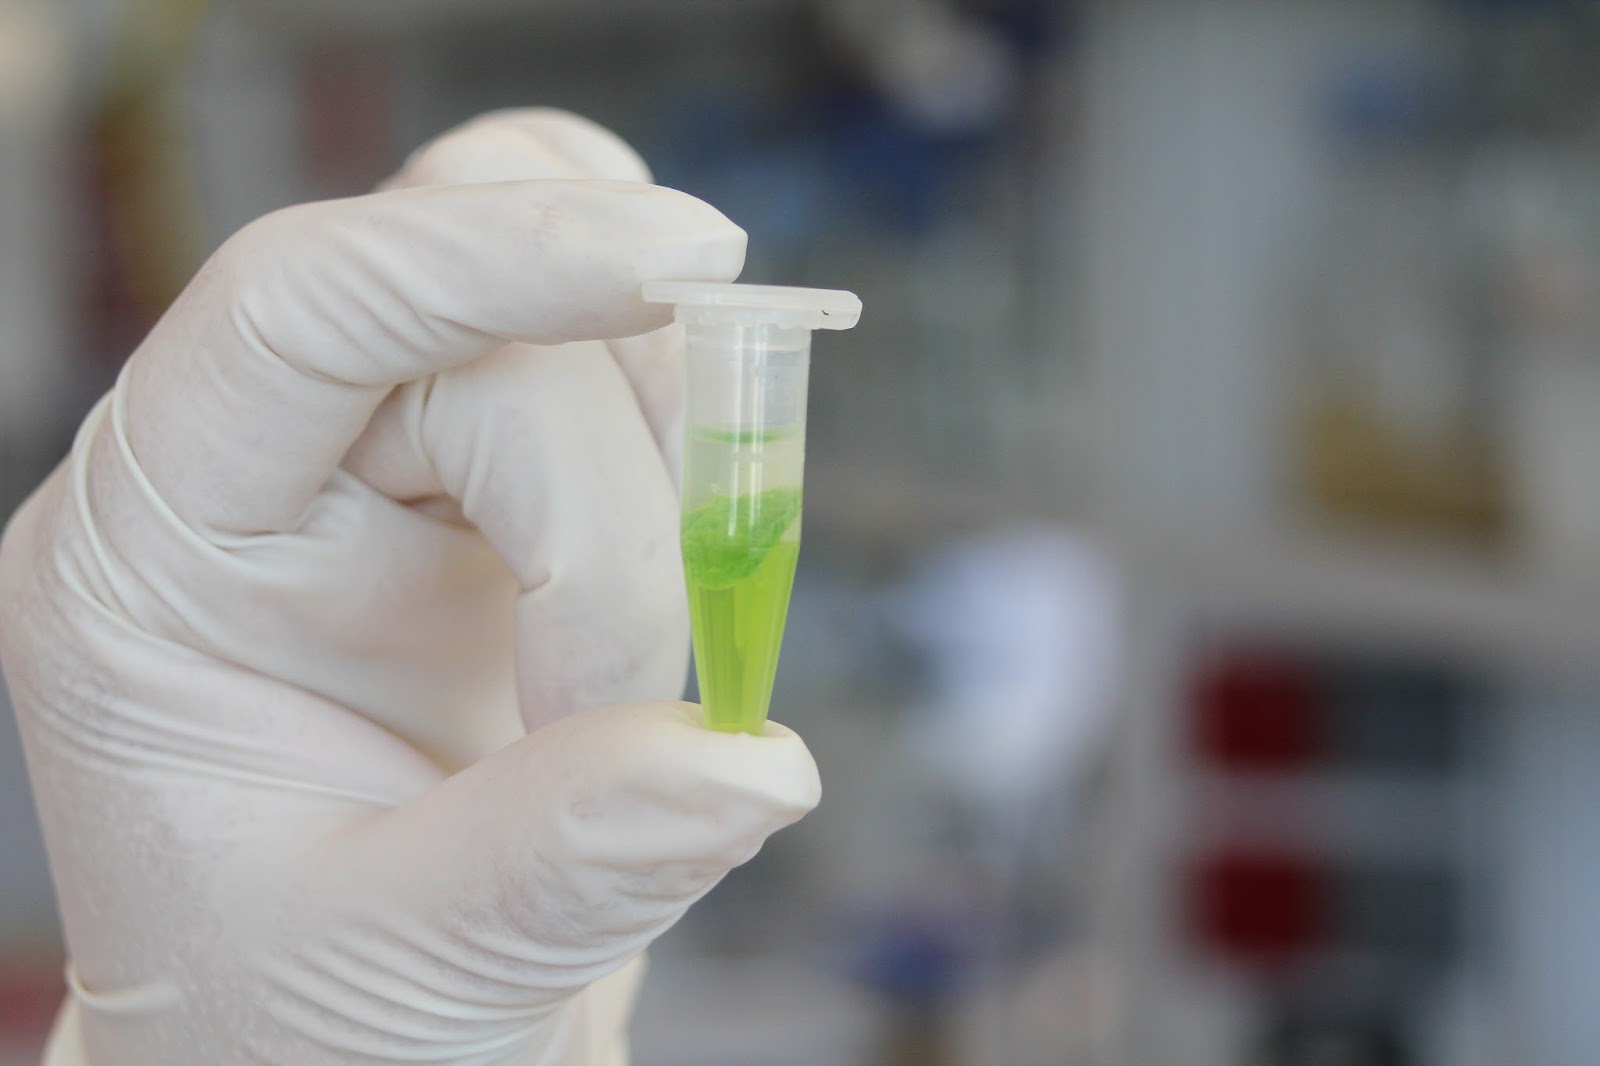
| Image 6.4 Me pipetting. |
The process to break the cell walls and start isolating the DNA starts by additing isoamyl chloroform and then making a vortex, as well as centrifugating it. The result will be a solution separated in different phases, that the scientist will separate by using a pipette, taking apart all the aqueous solution that contain the DNA, and leaving apart all the cell "trash" (cytoplasm, wall, organelles,...).
 |
| Image 6.5 Photo of the different phases of the solution after centrifuge. |
After this, you combine the aqueous solution with cold isopropanol, and moving the solution slowly, you get very thin wires, the DNA.
This deoxydoribonucleic acid will be isolated and will be let dry before resuspending the DNA into HPLC water.
Now it is time to let the PCR work and some time after, you get a lot of copies of the strand fragment.
 |
| Image 6.6 Fuensi filling the holes of the electrophoresi. |
How do you know this fragment has acquired the transgenic gene?
Very simple, you only have to do an electrophoresis between the different copies of the different strands you have obtained from the PCR. You compare them with the transgenic gene you add at the first hole.
 |
| Image 6.7 Photo of a PCR in process |
No comments:
Post a Comment